If you ride a motorcycle, you probably know that keeping the chain in top shape is key to a smooth, safe, and enjoyable ride. But adjusting a chain might feel like a chore if you’re not used to it. Don’t worry—this guide will walk you through the entire process in a straightforward, step-by-step way.
Why a Well-Adjusted Chain is Important
When it comes to motorcycle maintenance, your chain might not get as much attention as your engine or brakes, but it’s crucial. Here’s why:
- Smoother Rides: A well-adjusted chain keeps the power flowing smoothly from the engine to the wheels. No jerks or odd noises—just the thrill of a smooth ride.
- Safety: A chain that’s too tight or too loose can be a hazard. It may slip or snap, especially if you’re riding at high speeds.
- Longer Life for Chain and Sprockets: Proper tension minimizes wear and tear, meaning you won’t have to replace them as often. That’s a win for both safety and your wallet!
How to Know When Your Chain Needs Adjustment
Not sure if it’s time to adjust your chain? Here are a few signs to look out for:
- Noticeable Slack: If the chain seems too loose, it’s likely time for an adjustment.
- Strange Sounds: Any rattling or clanking sounds from the chain could mean it’s too loose.
- Uneven Wear on the Chain or Sprocket: Check for signs of wear—an uneven look usually means your chain’s not sitting right.
Gathering Your Tools
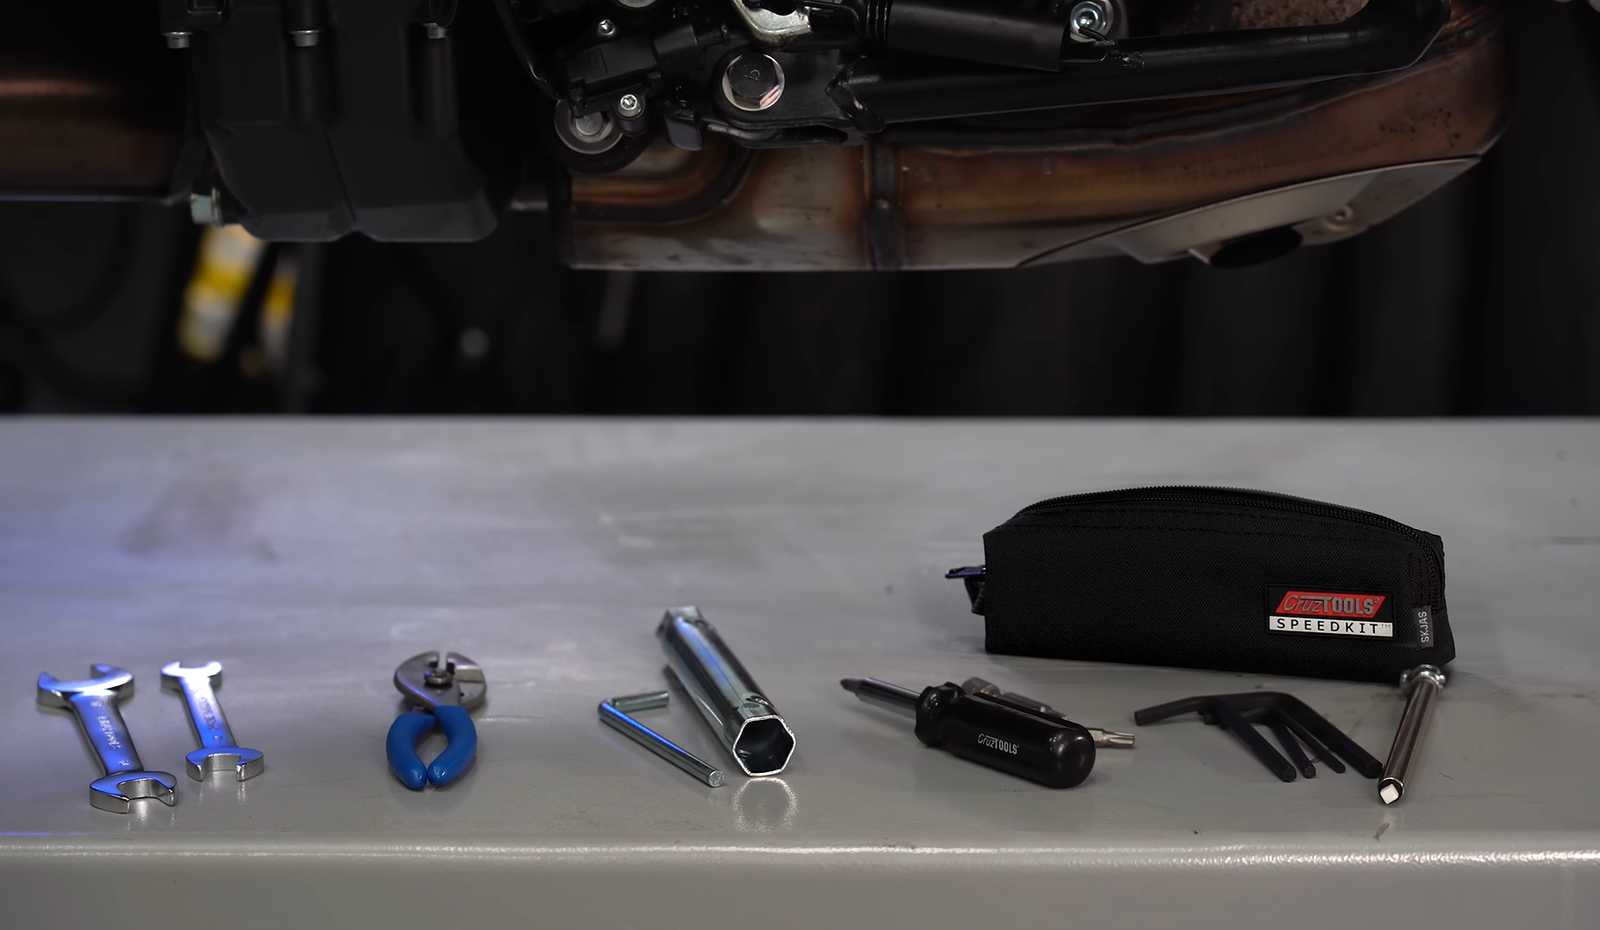
Here’s what you’ll need before getting started:
- Wrench Set: For loosening and tightening nuts.
- Torque Wrench: To make sure everything’s as tight as it should be.
- Ruler or Chain Tension Tool: To measure slack.
- Chain Lubricant: Essential for keeping the chain in good condition after adjustment.
Step-by-Step Guide to Adjusting Your Motorcycle Chain
- Set Up Your Motorcycle
- Make sure the bike is on a level surface. If you have a center stand or paddock stand, use it to keep the bike steady.
- Check the Chain Tension
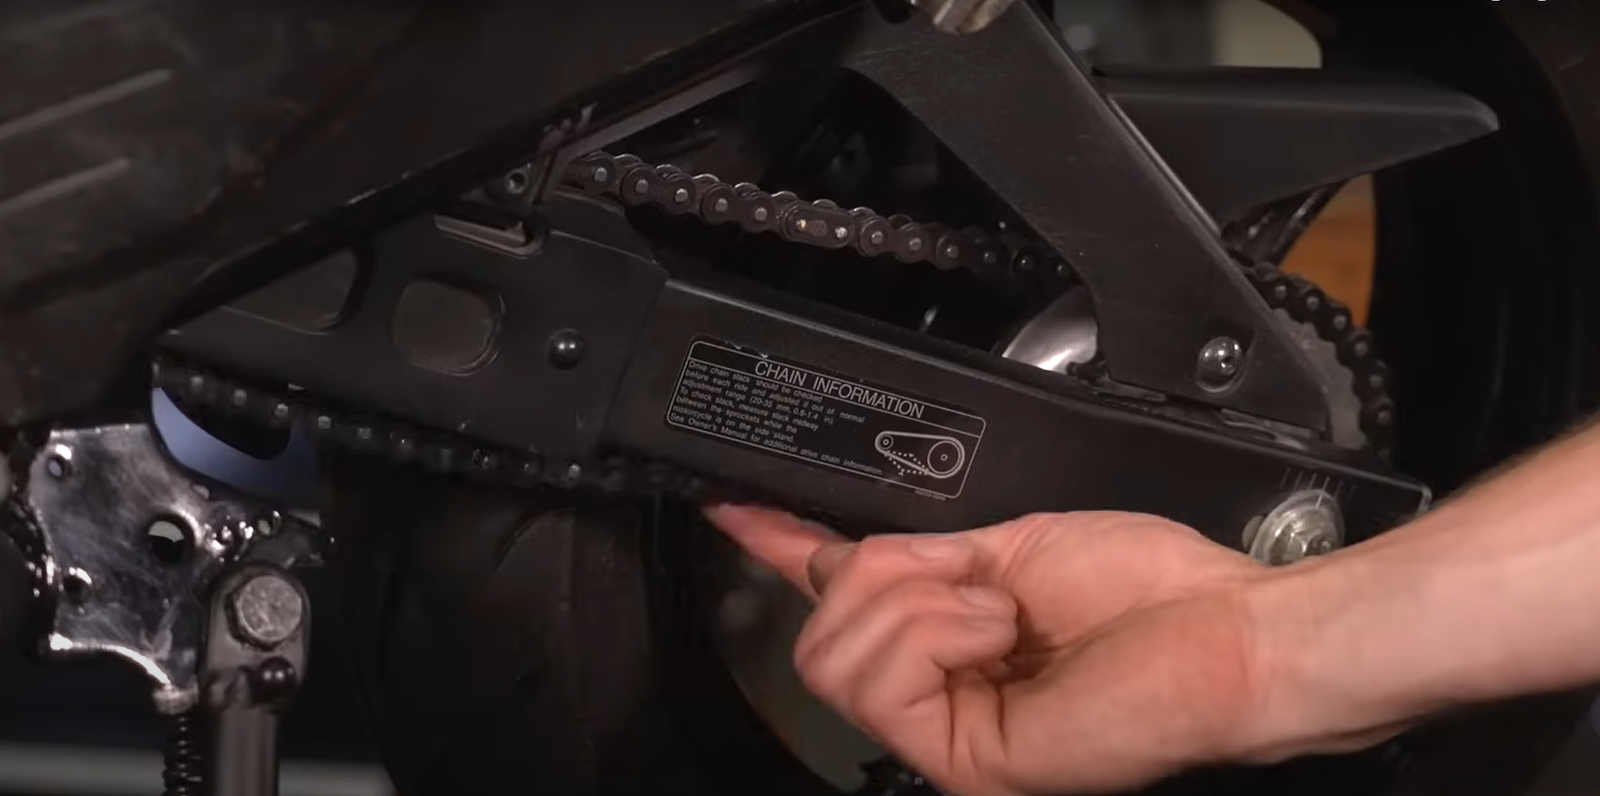
- Gently pull the chain up and down at its midpoint. Generally, you’re aiming for about 1 to 1.5 inches of slack, but check your manual for the exact range recommended for your bike.
- Loosen the Rear Axle Nut
- Find the rear axle nut and loosen it enough to allow the wheel to move back and forth. This step is crucial to making adjustments.
- Adjust the Chain Tension
- Use the adjuster bolts located on either side of the rear axle. Turn them equally on both sides so the chain tightens or loosens to the desired slack.
- Be sure to check the alignment marks on each side to keep the rear wheel aligned with the frame. This will prevent uneven wear.
- Double-Check the Wheel Alignment
- Proper alignment prevents the chain from wearing unevenly. If your bike has alignment markers, make sure both sides match up. If not, use a straight edge or a ruler.
- Tighten the Axle Nut
- After adjusting the tension, use a torque wrench to securely tighten the axle nut. Check your manual for the right torque setting.
- Re-Check the Chain Slack
- It’s always a good idea to check the slack one more time to be sure it’s just right. Sometimes it can change slightly when you tighten the axle nut.
- Lubricate the Chain
- Finally, add some chain lubricant to keep things running smoothly and to prevent rust. A well-lubricated chain is a happy chain!
Pro Tips for Chain Maintenance
- Regular Inspections: Make it a habit to inspect your chain every 500-1,000 miles.
- Keep It Clean: Dirt and grime can quickly wear down your chain. A clean, lubricated chain will last longer and work better.
- Follow the Manual: Every bike has its quirks, so always refer to your bike’s manual for the manufacturer’s recommendations.
Conclusion
Learning how to adjust a motorcycle chain might seem a bit tricky at first, but once you get the hang of it, it’s just another part of riding. A properly adjusted and well-lubricated chain means a smoother, safer, and more enjoyable ride. So next time you notice a bit of slack, grab your tools and handle it like a pro—you’ve got this!

