Changing your motorcycle’s engine oil might seem a bit intimidating, especially if you’re new to it. But with the right steps, it’s easier than you’d think, and it can help you save money and keep your bike running smoothly. Here’s how to change your engine oil yourself without any hassle.
Why Changing Engine Oil Matters
Motorcycle engine oil is essential for lubricating engine parts, reducing friction, and carrying away heat. Over time, oil can collect impurities, which reduces its effectiveness. That’s why routine oil changes are crucial—they help prevent engine wear and keep your motorcycle in top condition.
What You’ll Need
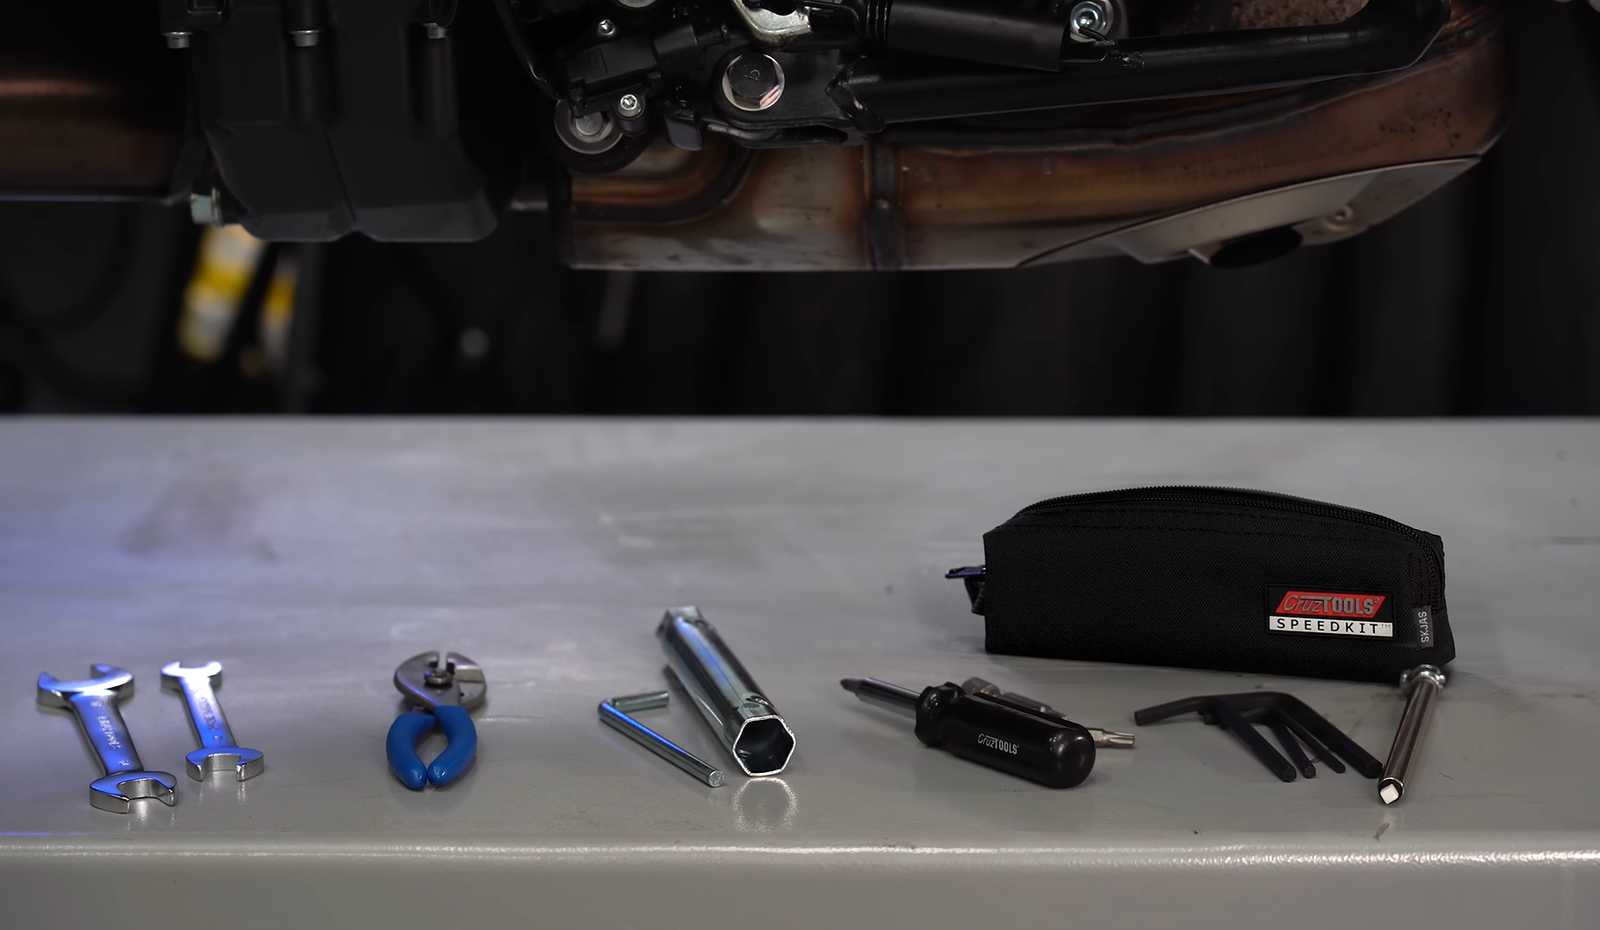
Before you start, gather these supplies to make the job easier:
- New Engine Oil (check your manual for the correct type and quantity)
- Oil Filter (if it’s due for replacement)
- Oil Drain Pan
- Socket Wrench or Spanner
- Oil Funnel
- Clean Rags or Paper Towels
- Disposable Gloves (optional, but helps keep your hands clean)
Step-by-Step Guide to Changing Your Motorcycle Engine Oil
Step 1: Warm Up the Engine
Start your motorcycle and let it idle for a few minutes. Warm oil flows out more easily, which means you’ll be able to get as much old oil out as possible. Just be sure to turn off the engine and let it cool down a bit to avoid any burns.
Step 2: Place the Drain Pan Under the Drain Plug
Locate the oil drain plug on your motorcycle—typically under the engine—and place the drain pan right beneath it.
Step 3: Remove the Drain Plug and Drain the Oil
Using a socket wrench or spanner, carefully remove the oil drain plug. Allow the old oil to flow into the pan completely, which may take a few minutes. Take this opportunity to clean the drain plug with a rag; it often has metal particles from the engine that should be wiped away.
Step 4: Remove and Replace the Oil Filter (Optional but Recommended)
If it’s time to replace your oil filter, locate it (often on the side of the engine), unscrew it, and let any remaining oil drain out. Install the new filter by applying a small amount of new oil to the rubber seal, then screw it on by hand until it’s snug. Avoid overtightening.
Step 5: Reinstall the Drain Plug
Once the oil has drained fully, reinstall and tighten the drain plug securely. Make sure not to overtighten, as this could strip the threads or damage the plug.
Step 6: Add New Engine Oil
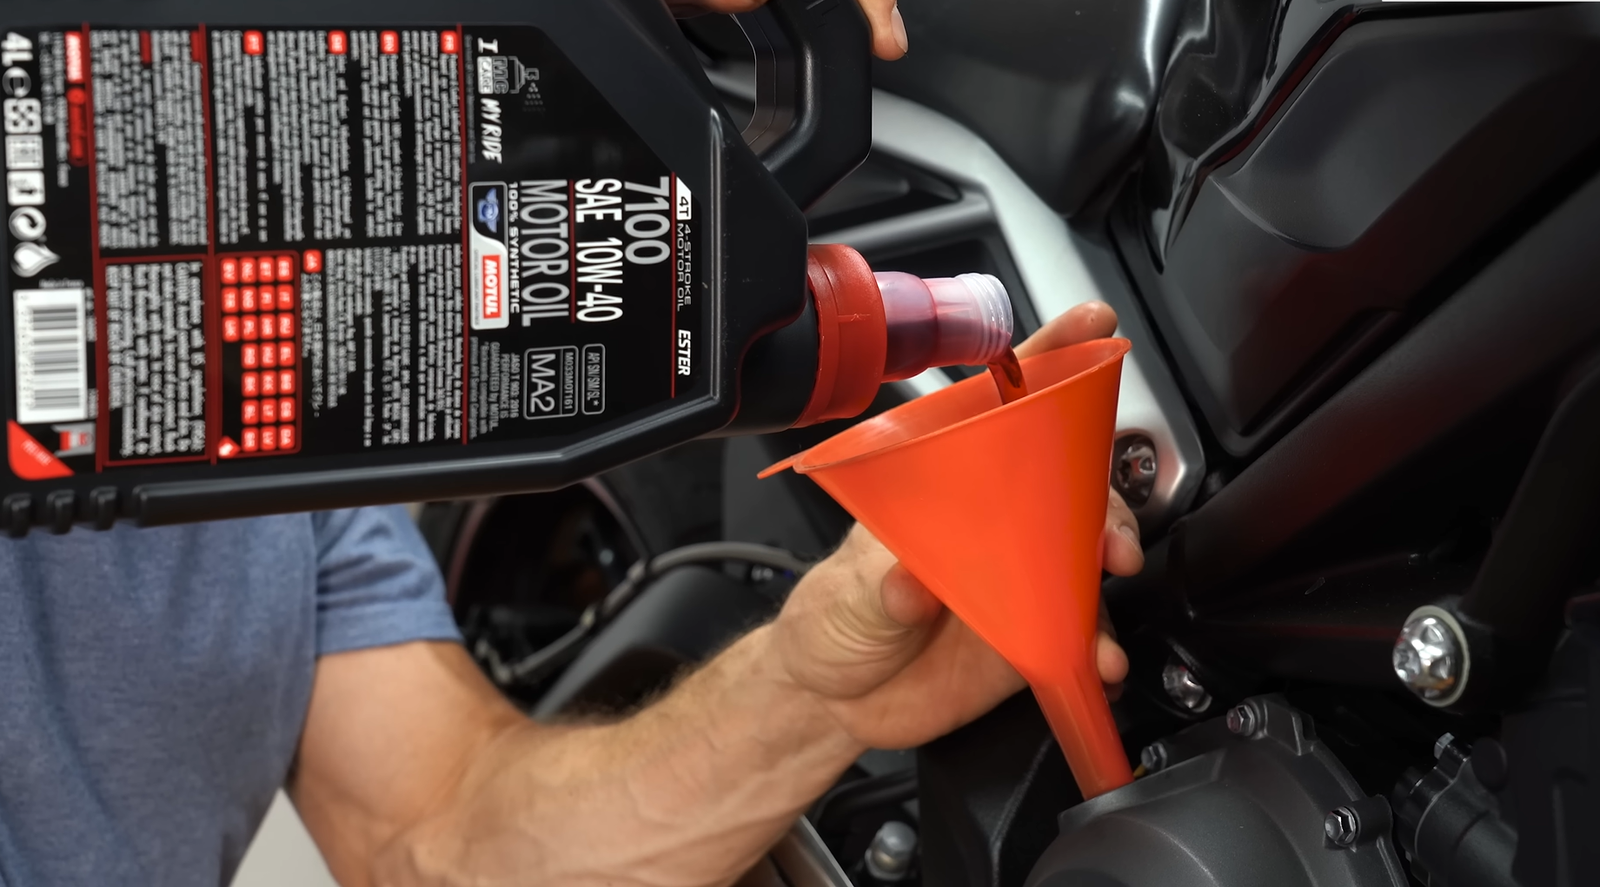
Insert the funnel into the oil fill cap, then pour the new oil slowly. Consult your owner’s manual to know the exact amount your engine needs, and add it gradually. Once done, replace the oil fill cap securely.
Step 7: Check the Oil Level
Start the motorcycle and let it run for a minute. This helps the oil circulate through the engine and allows you to check for leaks around the drain plug and filter. Turn off the engine, wait a moment, then check the oil level again and top up if necessary.
Step 8: Dispose of Old Oil Properly
Take the old oil and filter to a recycling center or auto shop that accepts used oil—never pour it down the drain or in the trash.
Final Thoughts
Changing your motorcycle’s engine oil isn’t just a way to save on mechanic bills; it’s an investment in your bike’s longevity. With this simple guide, you can take better care of your ride and keep it running smoothly for the miles ahead. Now, get your tools ready and enjoy the satisfaction of doing it yourself!

